How to safely share a SharePoint file
TLDR
IT Champion’s guide explains how to safely share files in Microsoft SharePoint using secure links, permissions, and expiration settings. It covers best practices for internal and external sharing, ensuring compliance and data protection while enabling seamless collaboration across Microsoft 365—ideal for hybrid work environments.

In this month’s easy-to-follow blog, we will show you how to safely share a SharePoint file, folder or document.
We thought we would share the top tips and tricks to help any Windows or Microsoft 365 business user learn how to eliminate tedious and repetitive tasks from their working day. Part of our fresh approach as a Managed IT Support partner are the free resources we share with our clients’ users so they can make the most out of their day. Monthly tips and tricks sessions are just one aspect of what makes us the most friendly IT experts around.
How to share direct from SharePoint
We will be going through how to share a SharePoint site, a list, and files or folders from a library. Depending on your individual access and account settings your options may differ and limit your ability to share with people outside of your organisation.

Sharing a SharePoint site
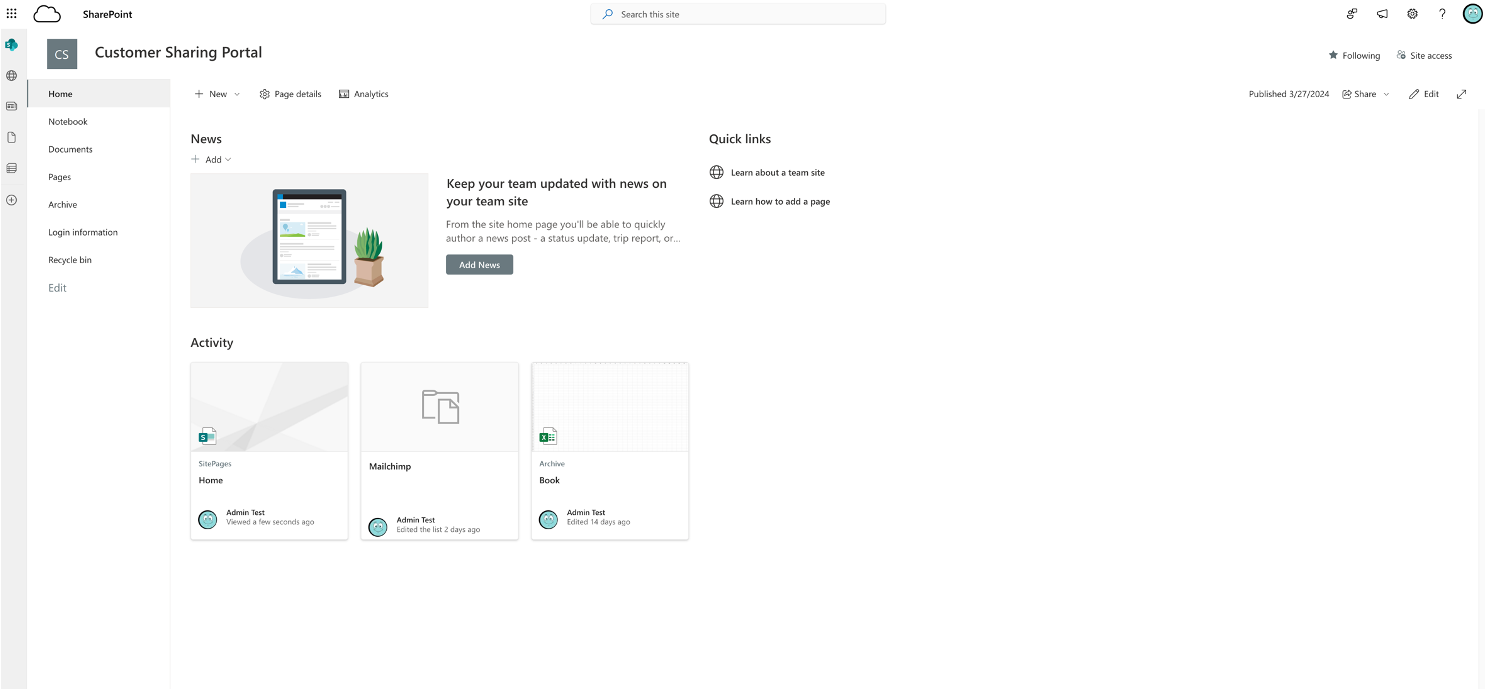
If you have the correct level of access in a SharePoint site you may have the ability to share the whole site with someone else. Take a look at the top right-hand corner of the site’s homepage to locate the ‘Share’ icon (just under the ‘Following’ and ‘Site Access’ links).
SharePoint portal Site access
Look at the top right-hand side to locate any share options that are open to you.
Share link
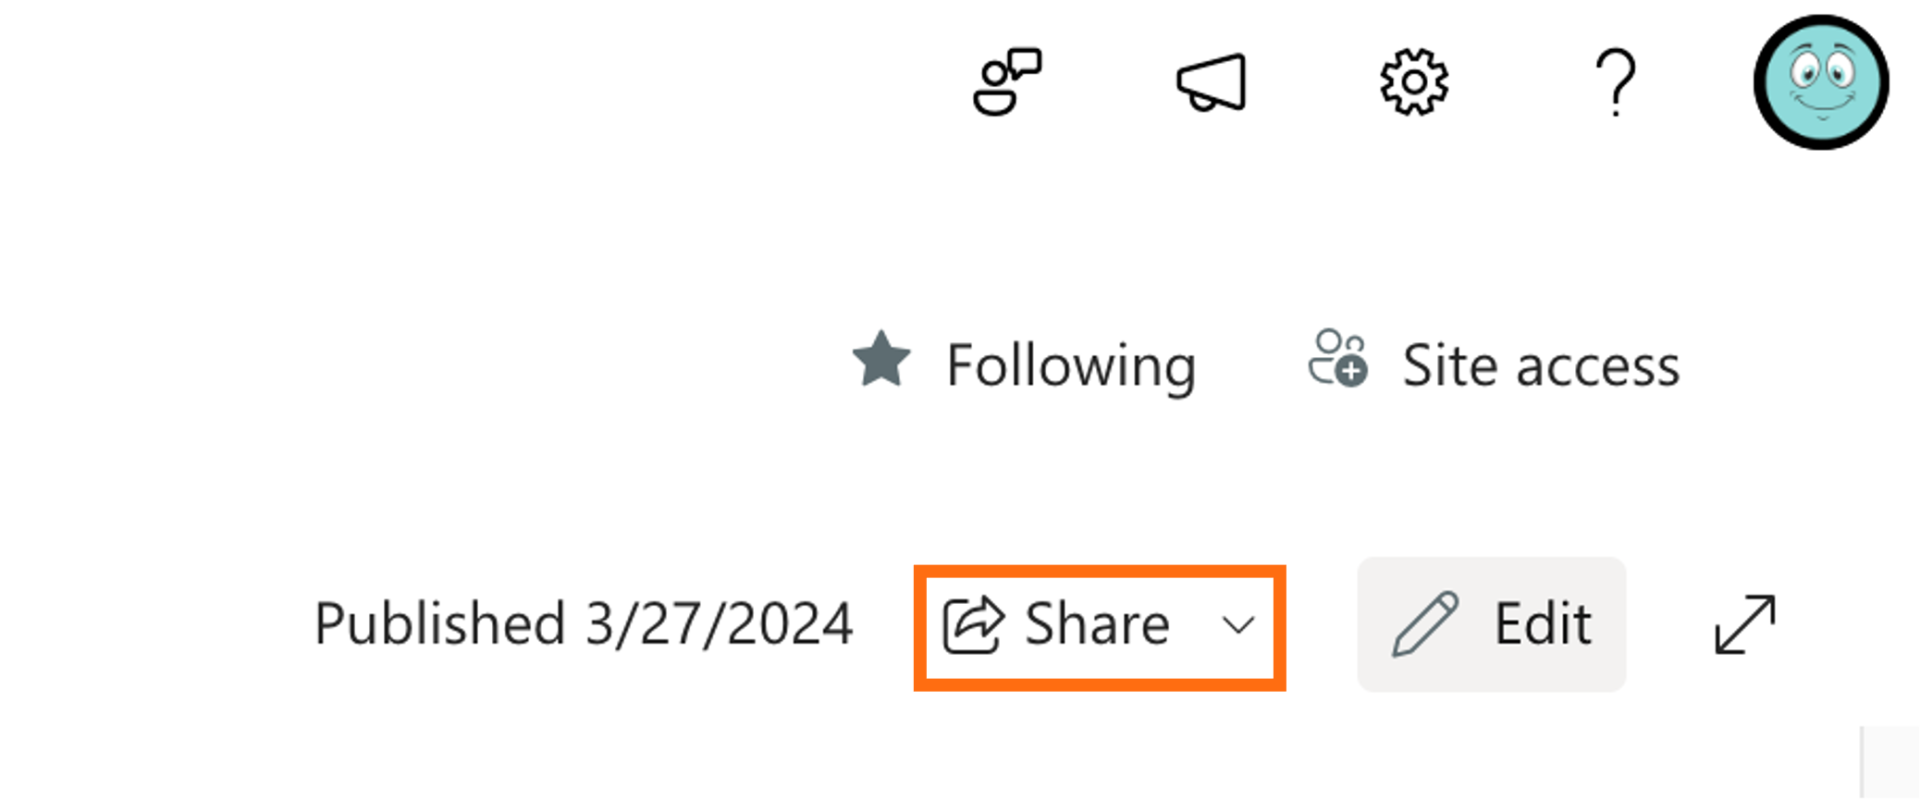
If you can share a site you will see this 'Share' link with a drop down arrow on the right.
Share link dropdown options
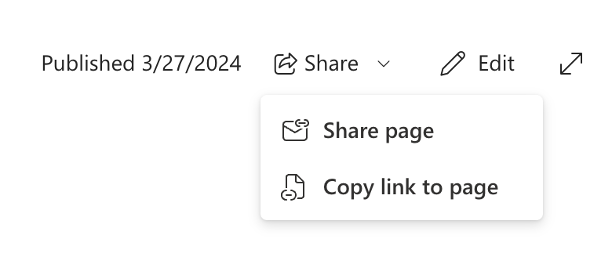
When ou click on the dropdown arrow you will see two options: Share Page, Copy link to page.
SharePoint site access share “Home” dialogue box
Clicking on Share page option a dialogue box like this one will open. You can now type the name, group or email of the person you wish to share the site with. You can also add a personal message. Click 'Send' when you are ready

Sharing a SharePoint folder or file
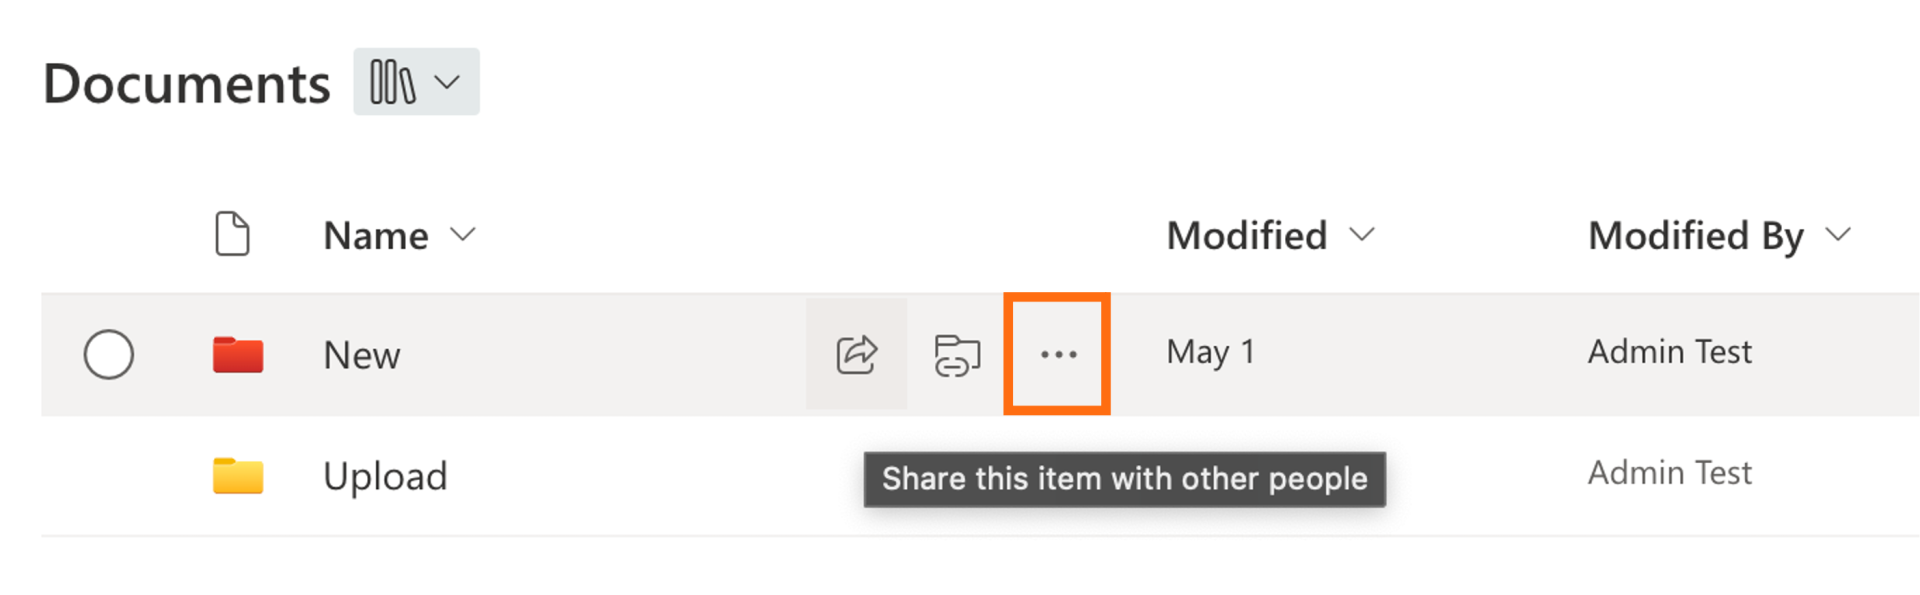
From the homepage of your SharePoint site navigate to Documents using the left-hand side menu. And you will see all the folders and documents saved in this area. When you hover over the folder you want to share three icons should appear. The first on the left looks like an arrow jumping out of a box. This button will enable you to share the folder with another person.
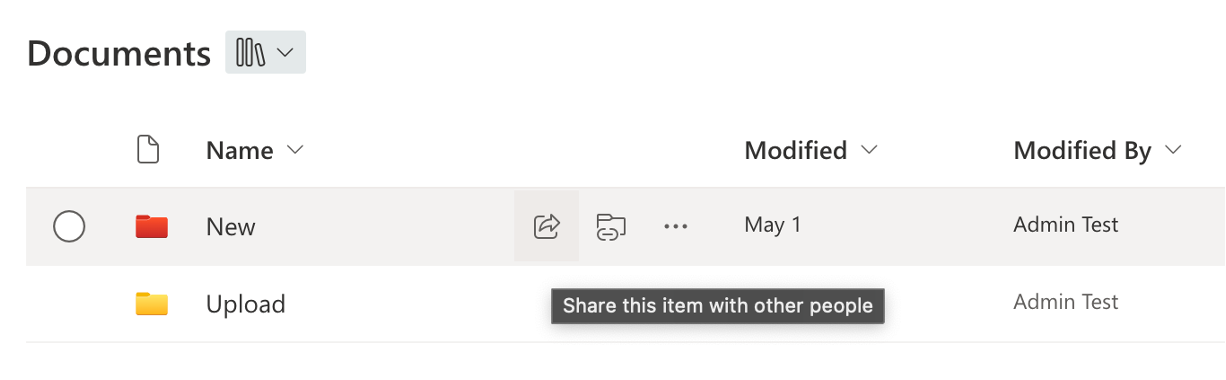
A view of all the folders and files in 'Documents'
When you hover over the folder or file you want to share three icons should appear. The first on the left is the Share icon.
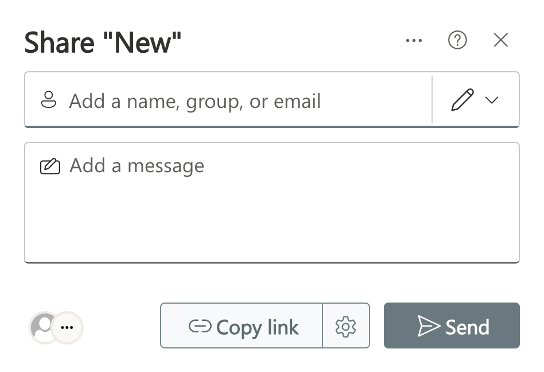
Share the folder named “New” dialogue box
Here you can see the options open to you to share access to the folder. You can add a name, group or email, manage the level of editing and even add a personal message before clicking send.

You can edit the link settings before creating a 'Copy Link'.
By clicking the button you can amend the level of access and type of editing rights the person you are sharing with will have.
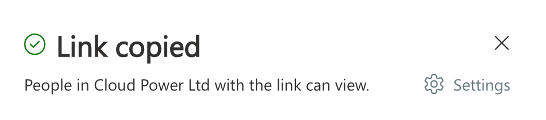
Success! the Link has been copied
This information is held in your clipboard for you to paste into an email, chat or document. You can see that the link allows anyone within the mentioned organisation to view the folder.
The different levels of access your can choose when sharing a link
When you’ve got to the point of sharing you can check and edit the level of access the link will give the recipient. In these images you can see FOUR options:
- You can choose Anyone,
- People within your organisation,
- people with existing access and
- people you choose.
You can also set the level of access from Can edit, Can view to Can’t download. Even limit the time the link is active with an end date or a password – making the link as secure as possible.

How to check on who has access
Site level access
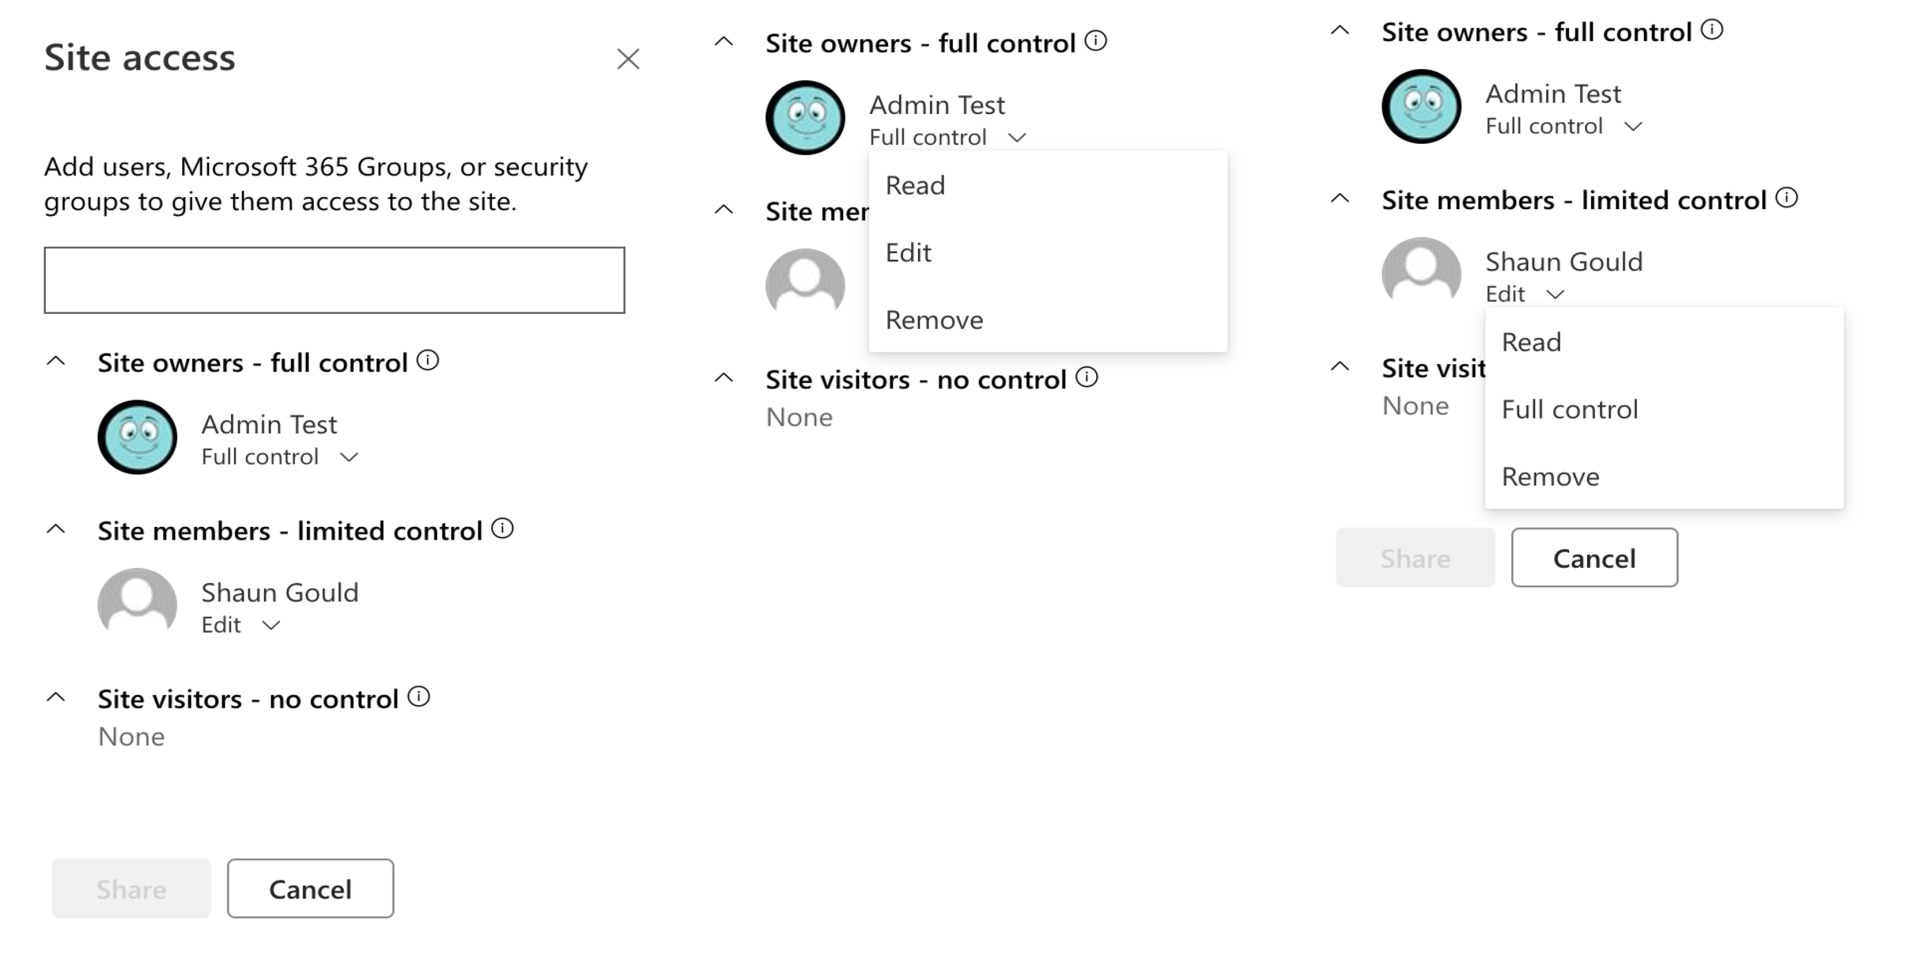
If you have site admin level of access to the SharePoint site in question you will be able to see the Site access button on the top right-hand corner of the site’s homepage. Once clicked you will be able to see a dialogue box that allows you to add users, Microsoft 365 Groups, or security groups access to the site. Access can be given at three different levels:
- Site owners – full control
- Site members – limited control
- Site visitors – no control
Under each access level, there is a drop-down menu that shows you which users have current access. Here you can edit their access further by selecting: Read, Edit/Full control or Remove.
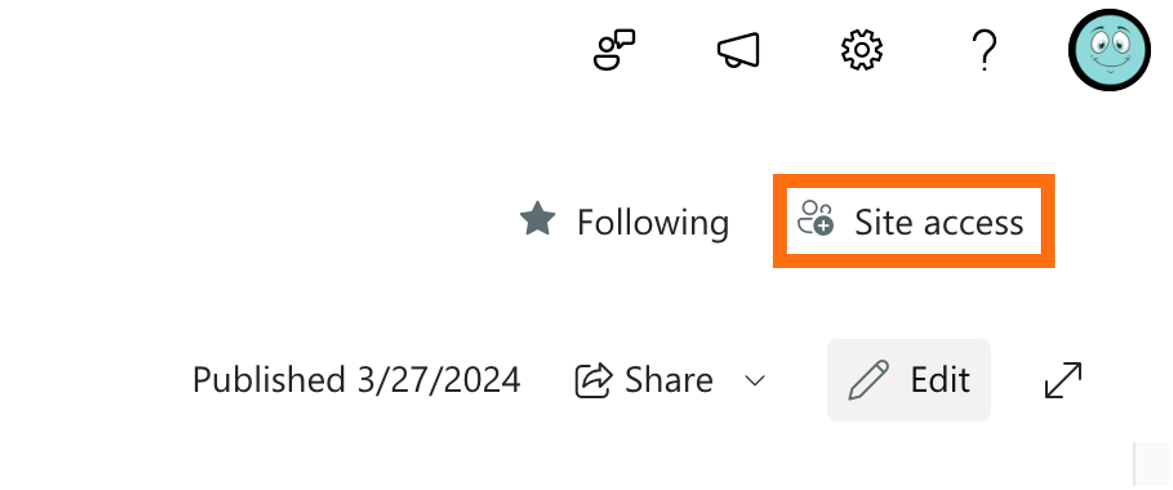
Site access button
To check on who has access to your site, locate and click the site access button that can be foud top right hand corner.
Site access dialogue box
Here you can view who has access to your SharePoint site. From Full control, limited control and no control.
Folder and file access
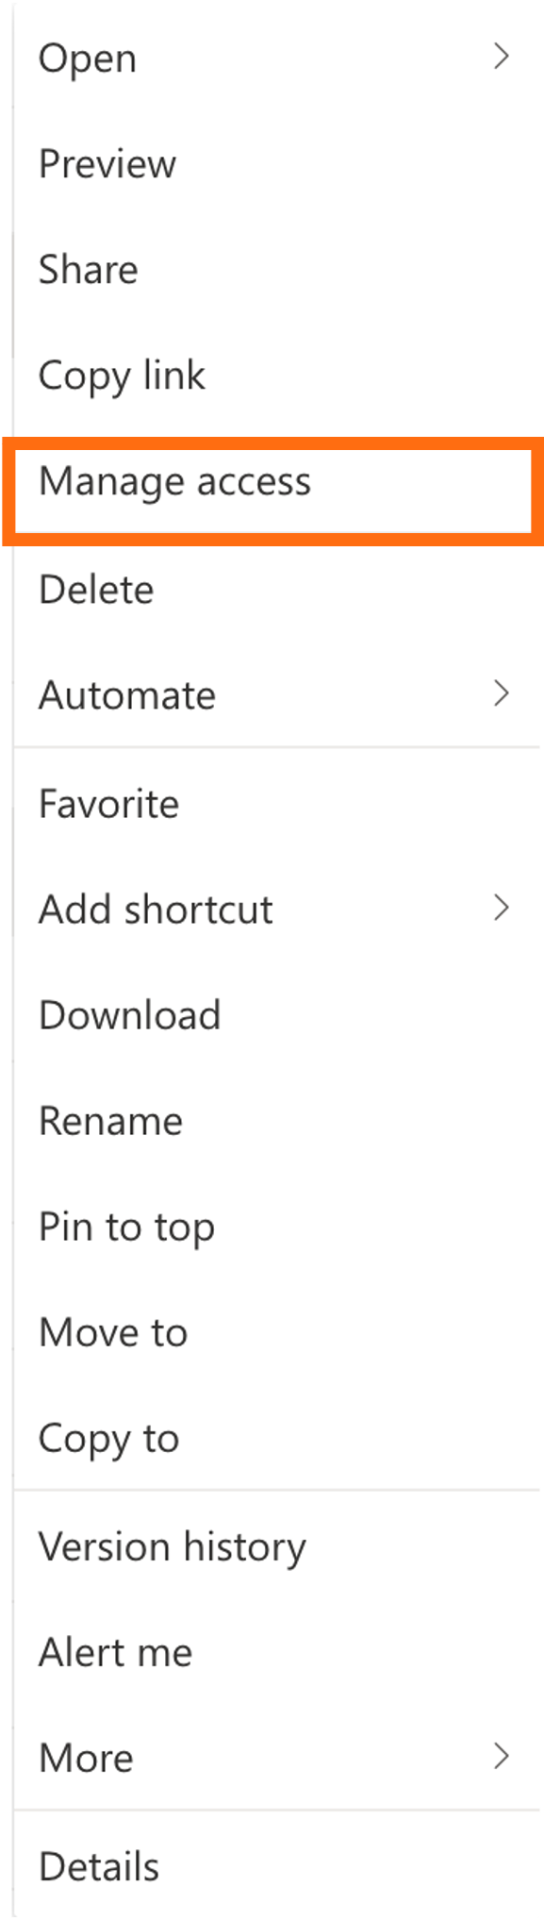
When you want to manage who has access and to what level you can do this by opening up the following dropdown menu – located by the ellipsis. The fifth option down from the top is ‘Manage access’. By clicking this option you are present with a dialogue box that offers many ways of managing who has what king of access to the particular file or folder.
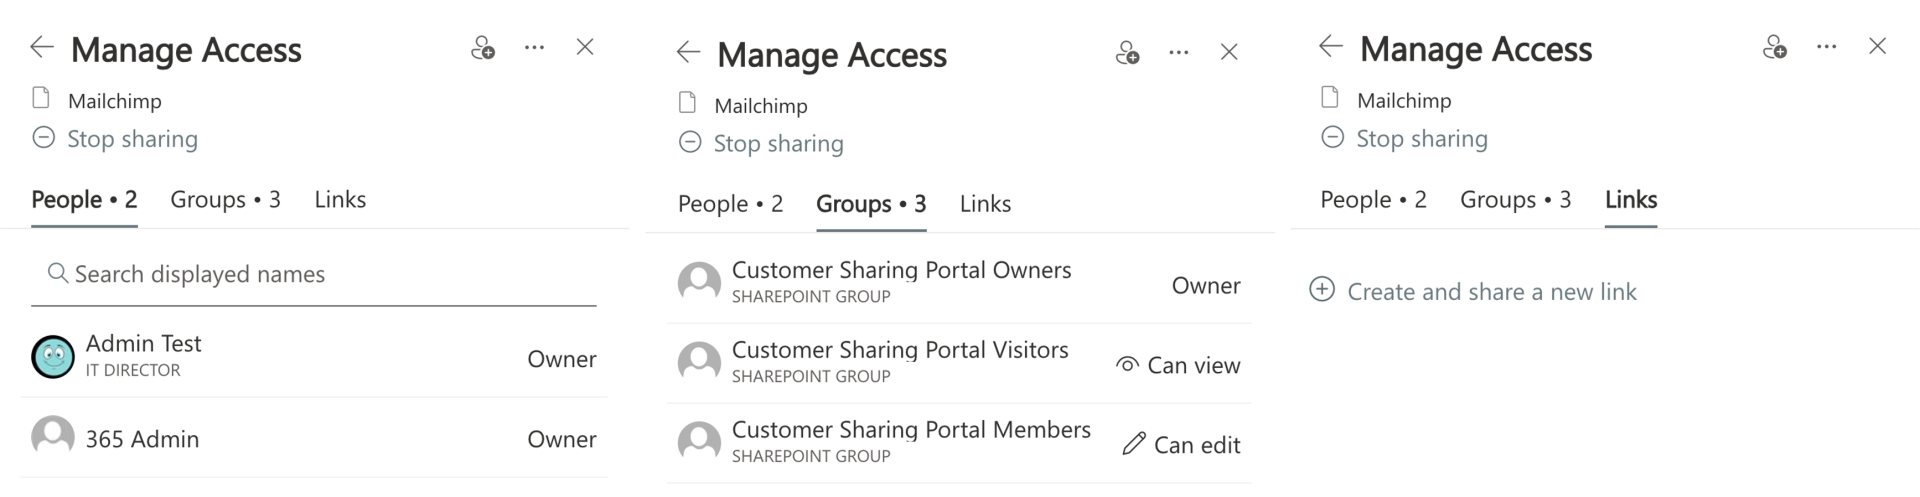
- Stop sharing altogether
- Manage People and their level of access
- Manage Groups and their level of access
- Edit individual links that may have been created
Depending on your level of ownership and admin controls you can delete or edit these 4 different ways of sharing.
Edit who has access to a folder or file
Use the three dots (ellipsis) to open up more options
Mannage access of a folder or file
From the drop down menu select Manage access
Access options for a folder or file
There are three access options you could be able to manage: People, Groups and Links
The users of our managed support clients have access to a range of free resources and training.
This is part of our fresh approach to Managed IT Support, we know that having happy users who are armed with insight can improve productivity by utilising technology effectively. A modern workplace is about supported collaboration and accessible data, we have the expertise that will help transform your operations.
Take a look at our Support+ plans
About the Author
The IT Champion Service Delivery Team works behind the scenes to make sure customers receive dependable, friendly and effective IT support every day.
Their posts share real‑world updates on service performance, improvements and new developments that impact customers directly.